Tilemap
We want to decorate the level with images!
Short version
The easiest way is to simply place Sprites. You can modify things substantially by changing the color and scale values. For complex setups, though, you want a Tilemap
First approach is to use the scale property of the Sprite. This is not ideal, though, because it will scale the image in both directions, which can lead to unwanted results.
Second approche is to use Region activated in the Sprite inspector. Now you can see new properties: Region Rect and Region Enabled and a button Edit Region You can click it and draw a rectangle outside of the image, this will stretch the image to the rectangle. After that, select in Texture the property Repeat and enable it. And that it's, you sprite is working like a tile. (You can see some demarcation lines, it's because the image is not a tile)
Tilemap - Long version
We need a Tileset compose of Tile, much easier to manage. We can add collision to the tileset and it's easier to create a level.
- Tile is a single graphic
- Tileset is a combination of tiles
- Tilemap is a Godot Node that organizes tilesets
More detailsyou add to our level, the better is going to look.
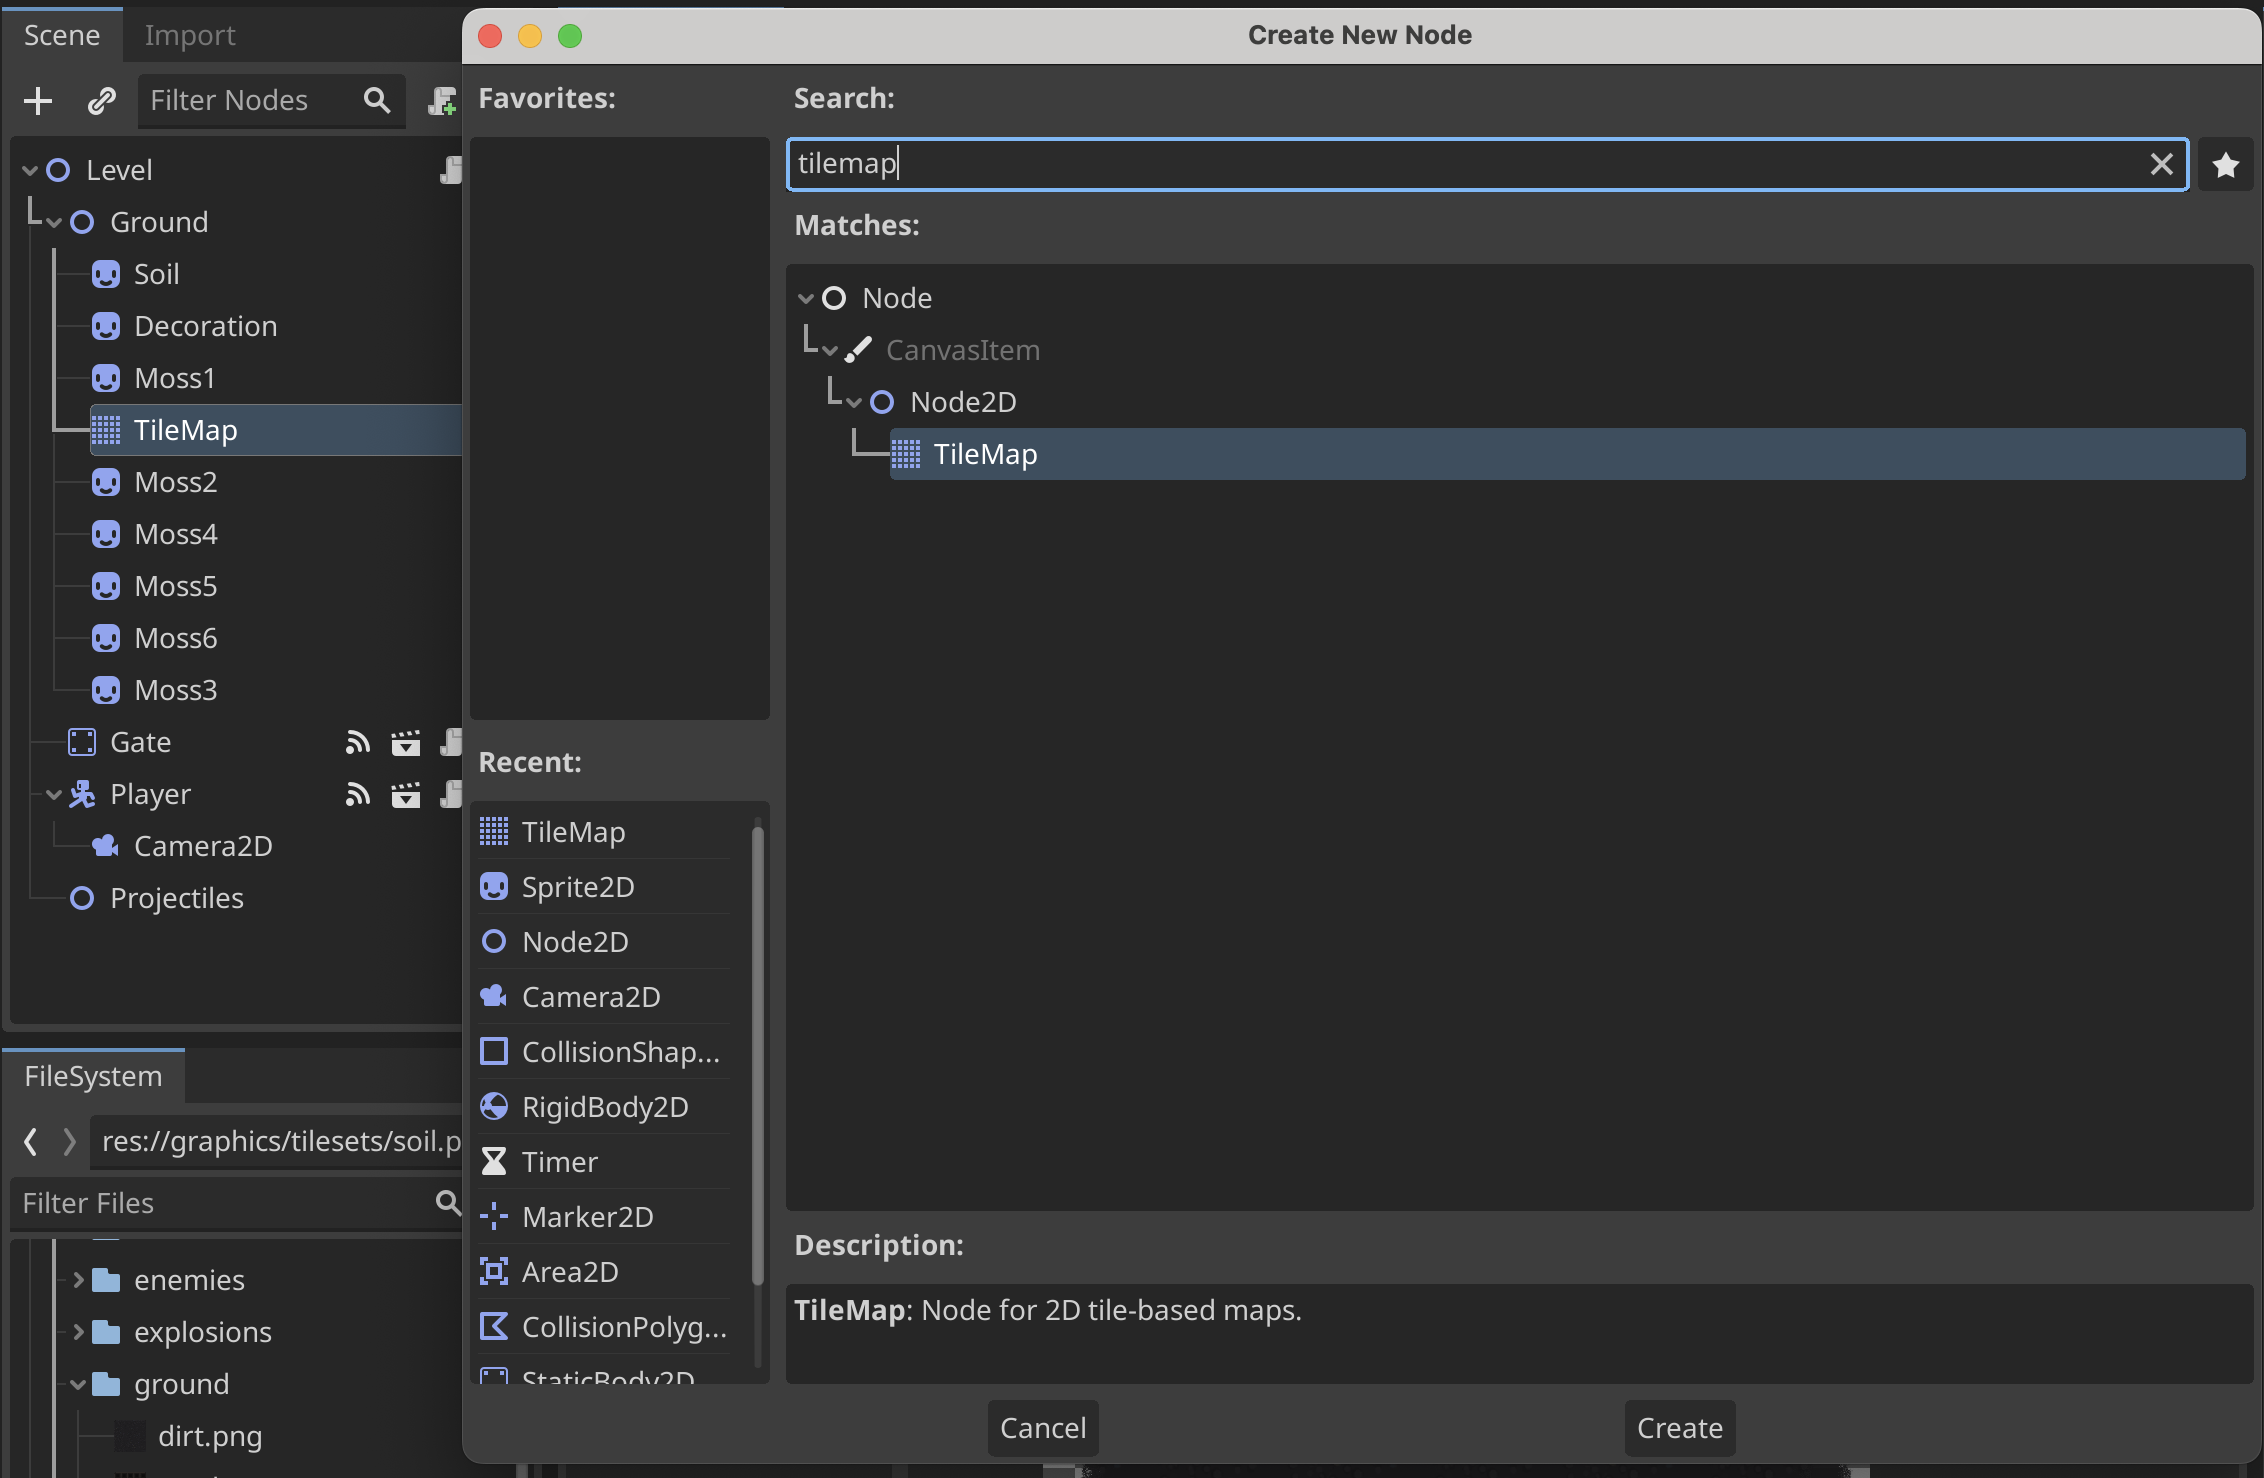
For starting, we need to add a Tilemap node to our scene.
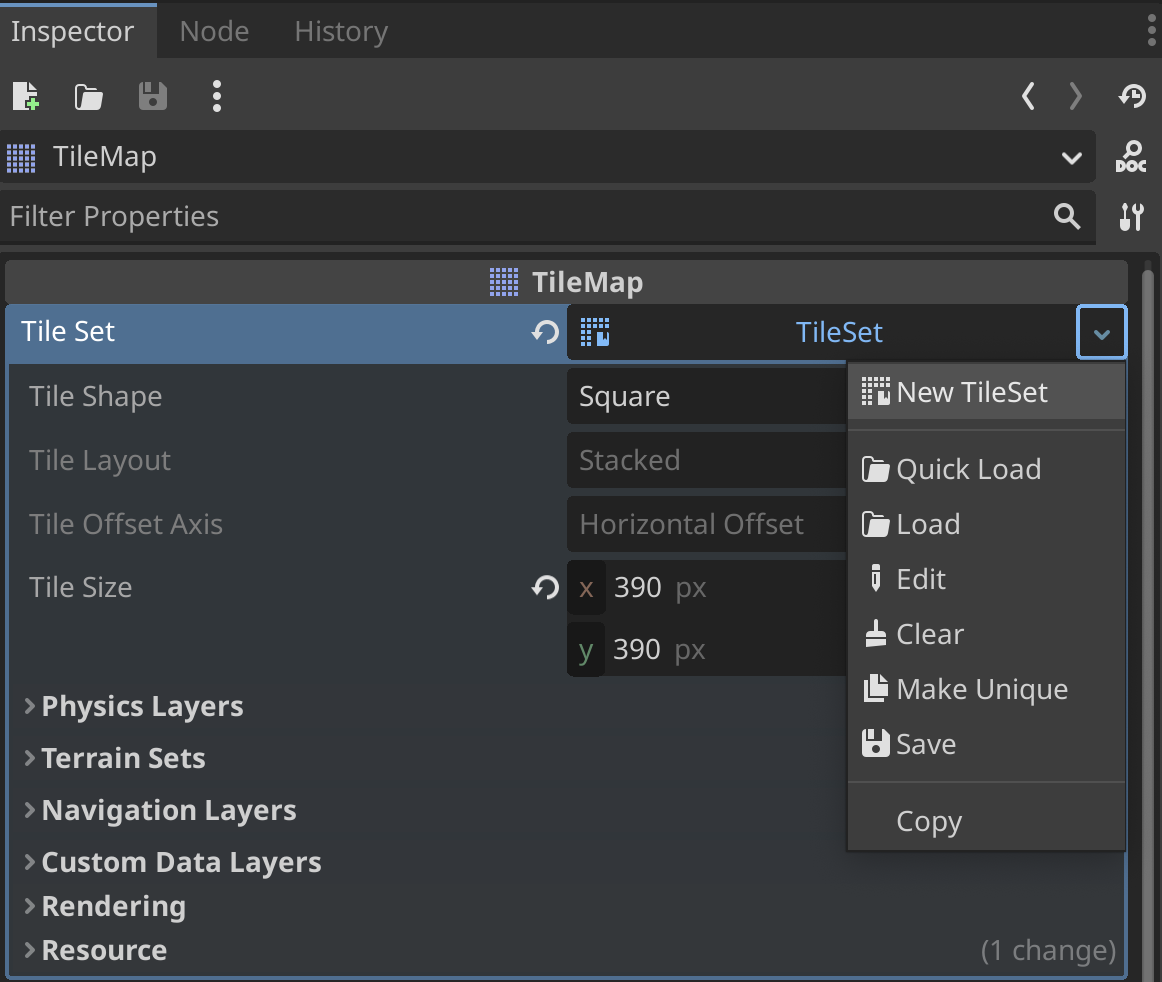
Now we need to add a Tileset to our Tilemap. Go to the inspector and in the tileset property you can add new Tileset
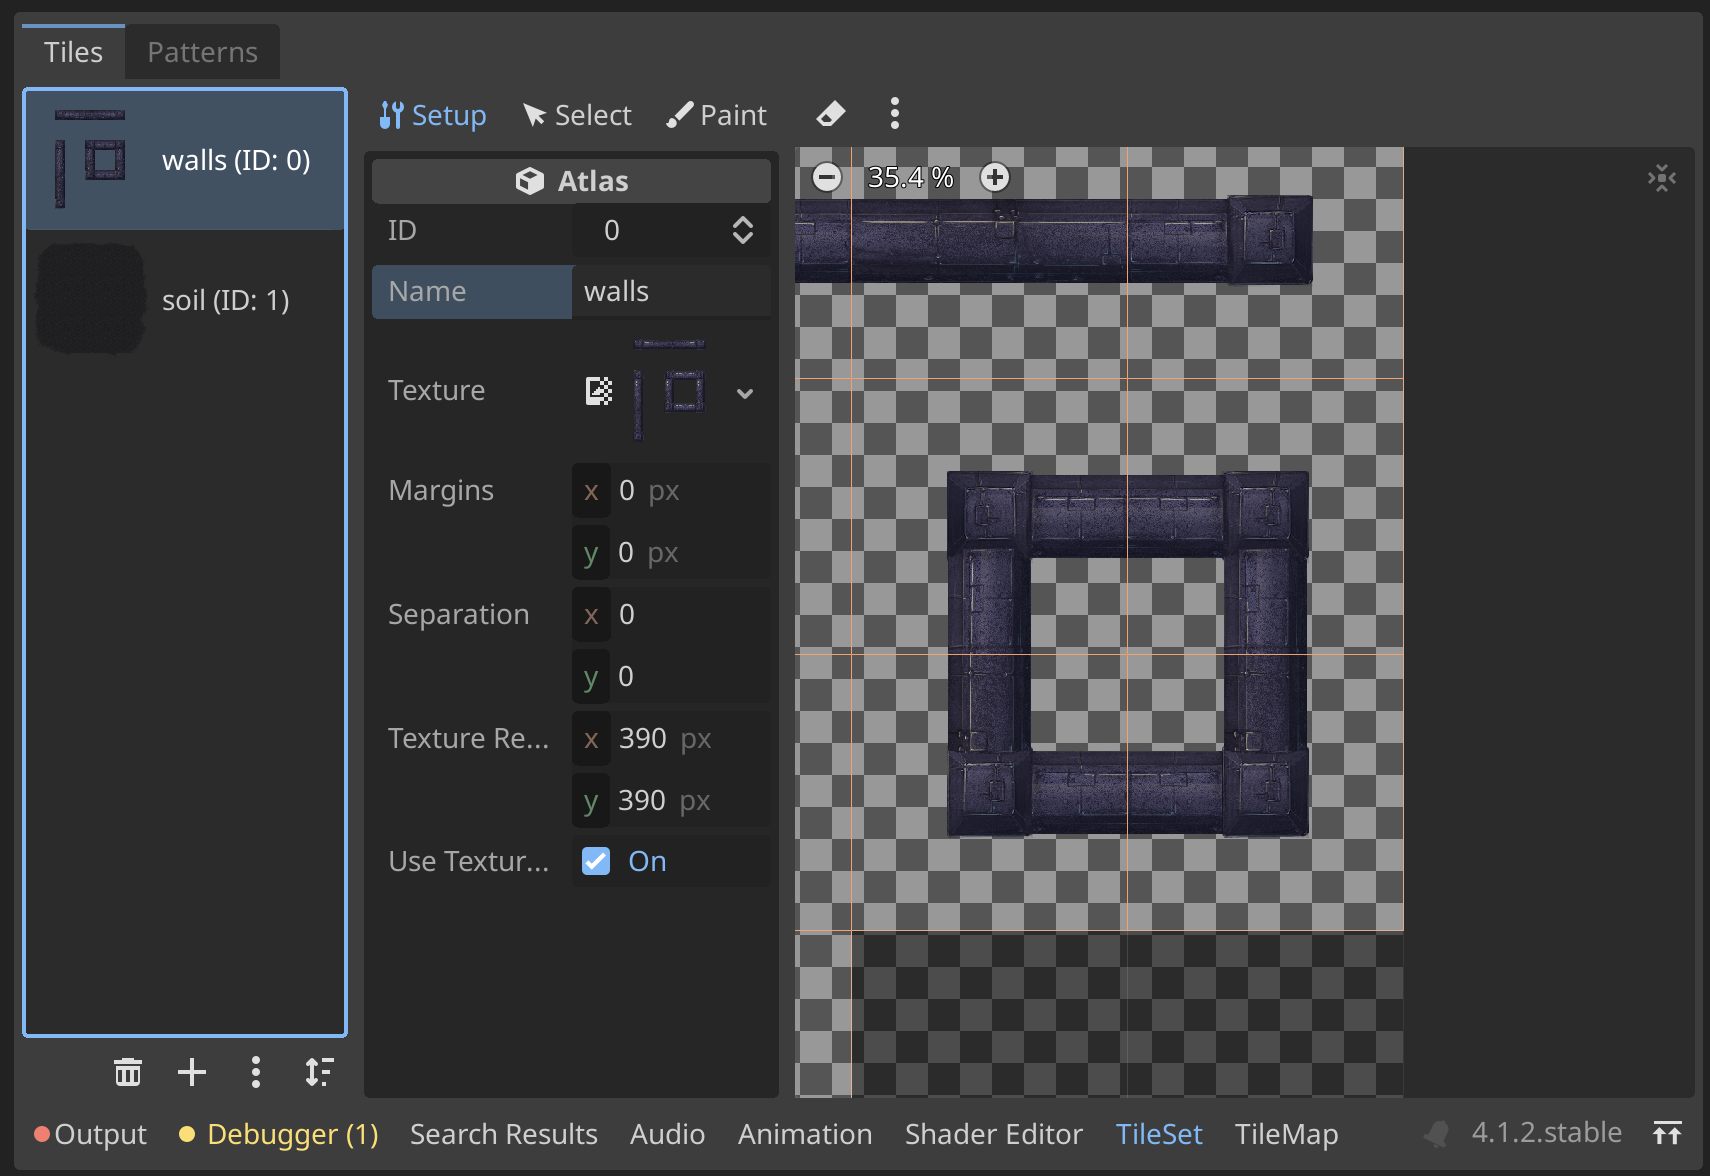
In the bottom panel, you can see 2 news tab, Tileset and Tilemap, if you select tileset, you can drag and drop your tileset inside the list on the left. You can customize and setup a few thing, like the Tile Size. Your image is now cut in multiple tiles. Switch to Tilemap panel, You can select one of them and start to placing them in your level. (with some zone helper like a rectangle)
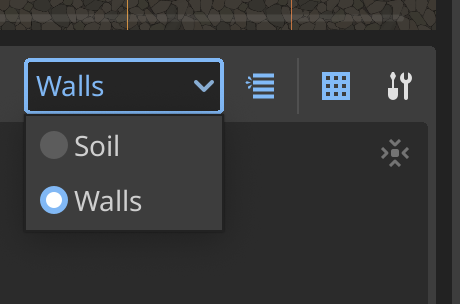
The next thing to know is the Layer. You can add multiple layer to your tilemap, it's like a photoshop layer. You can add a new layer in the inspector panel, of your Tilemap.
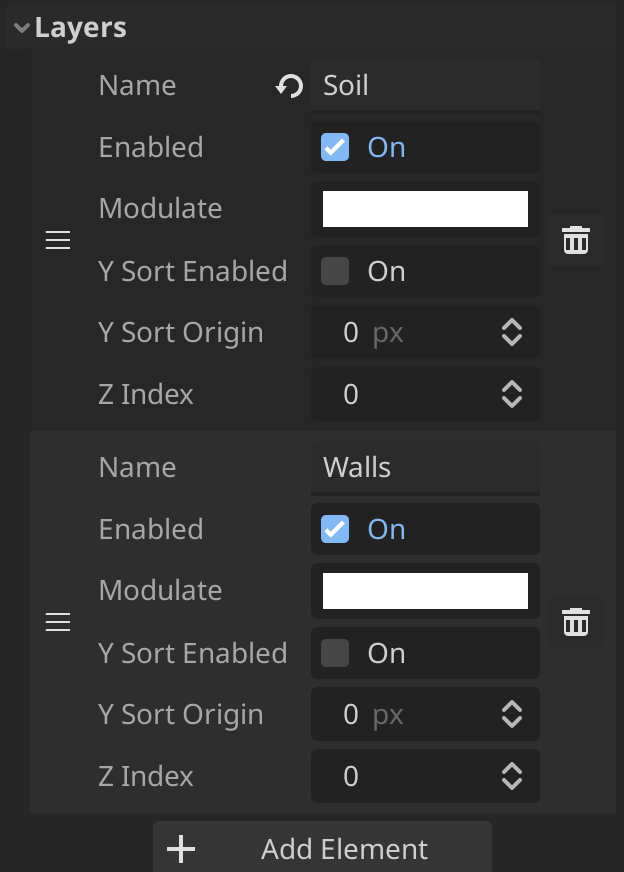
I've created 2 layer, the soil and the walls, the top layer would be the first (the soil) and the second (walls) layer would be placed on top of the first layer (soil) in our scene. You can add much more layer, just be careful of the order for superposition. And don't forget to select the right layer before placing your tile in the Tilemap bottom screen.